For this week’s assignment to make 5 identical objects, I decided to make hexagon ping pong paddles! The final result is below.


—
Process:
Originally, I was planning to do five bird houses, and even got so far as doing 1 birdhouse. See image below.

I was not happy with the end result of the first birdhouse, so immediately switched to my more feasible plan B.
For the ping pong paddles, I decided to make them hexagonal because: a.) it’d be fun to make “designer-y” ping pong paddles that weren’t the typical oval shape, b.) I am not yet skilled or comfortable enough to do perfectly symmetrical rounded shapes. With that in mind, I began!
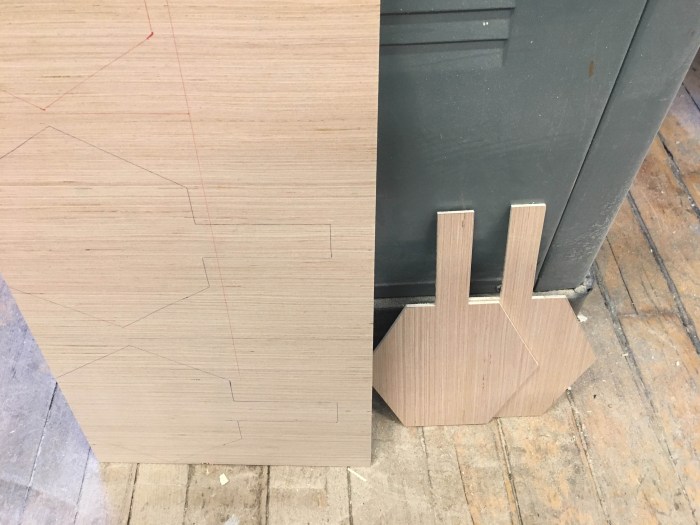
1.) Draw a template for myself in illustrator. The sizes were based on an online template I found. However, that version was much more curvy and made for a CNC router. I just needed the dimensions.

2.) Then, I printed the paper out, traced it on the wood and began cutting the overall shape and the rectangular handles individually. I used the bandsaw to cut because the wood I got (1/8″ plywood is very soft). When I used it on the chop saw, too much of the wood would disappear.
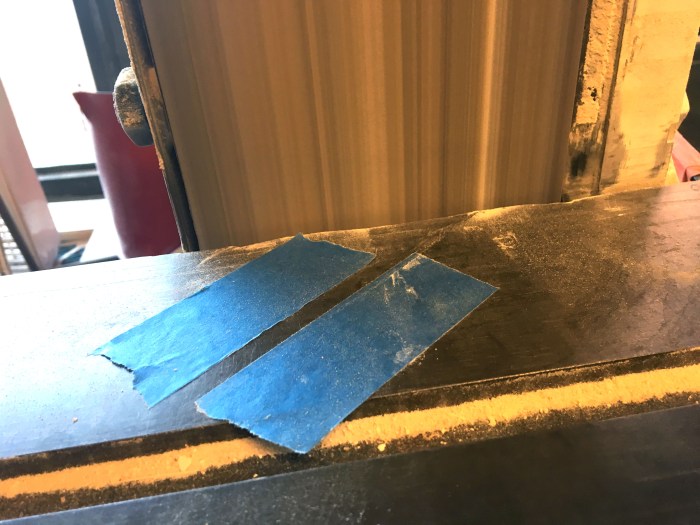
3.) I then cut the handles and created an angle using the sand blaster. I tried to create the same angle for the handles by sticking an angled piece of tape to the machine. See image below. Not sure if there was a better way to do this (there probably is).
4.) I went to Canal Rubbers (amazing store, btw!) to get some rubber for the ping pong paddles. It’s so great over there! They have so many choices, tons of colors, and knowledgeable people working there. After my trip there, I started to cut and glue the rubber to the ping pong paddles. I first traced the ping pong paddle onto the back of the rubber. Then I used rubber cement to glue to stick the cutouts onto the wood.
It was so fun to do stripes and different colorful designs for it.


5.) After gluing the rubber, I stuck the 2 handles to the sides using wood glue. I taped it together to have it dry nicely. In hindsight I should have clamped it down.
6.) Then I sanded the handles. Some of them I used the sand blaster to sand, which I now think was not the smartest thing for me to do because it made a weird groove when I sanded too much. So, I then hand sanded it to create a nice smooth paddle. Below is the result.
