This is a fun tool to use! I followed along with the instructions on this page: https://itp.nyu.edu/fab/subtraction/week-1-intros/skill-builder-router/
I also used this opportunity to make an enclosure for my fading led for my Light & Interactivity class.
a.) First, I printed out the instructions so it would be easy to follow along. Next I made measurements on the large wood piece that I found marked “free”. A lot of great free wood lying around this time of year! I wanted to do 3 for extra practice, and to use the positive shape of the design for my lamp.


b.) Next, I used the large wood slicer machine (forgot the name) to cut up the wood into smaller panels. I used the miter saw to get the pieces to be exactly 1×1′. I soon realized this was unnecessary to cut the panels to be exactly the same size of the diagram at this stage, because I would have to drill screws to secure the piece.
c.) I drilled the hole for the wooden peg using the drill press. I didn’t read the instructions carefully enough, so I accidentally drilled completely through the wooden panel. This did make it hard for the peg to stay, it would’ve been better to drill partial way through (as suggested).
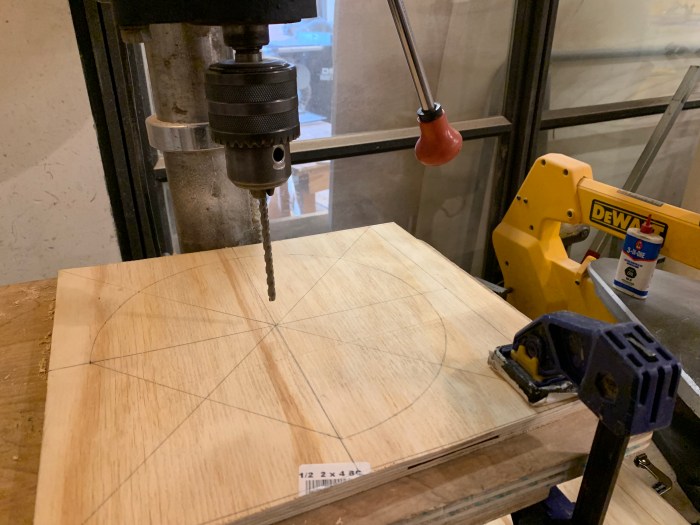
d.) I drilled screws on opposite ends of the wood to secure it to the CNC. I used tape to make the wooden peg a little thicker and to stay better in the piece.


e.) I unscrewed the top part of the router and tapped out the saw dust that was stuck. Then I screwed it back on and inserted my bit in using a wrench.


f.) Great, now the bit is nice and screwed on. I then adjusted the router’s height to try and get 1/8″ of the bit above the the top of the circle jig.


g.) I made my first very shallow cut.
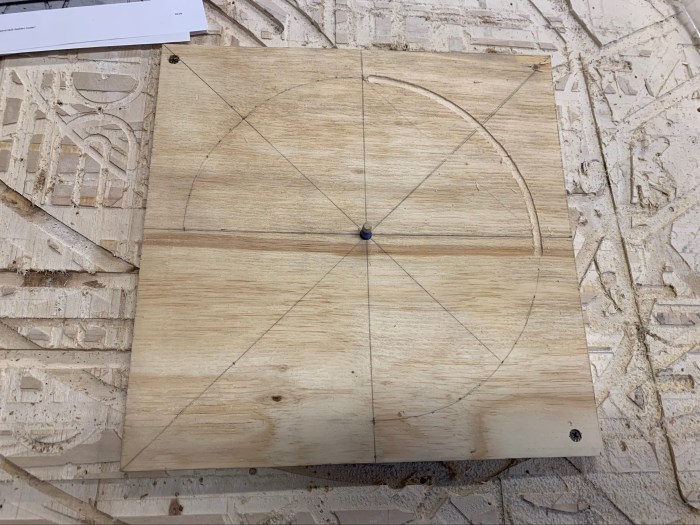
h.) Then, I kept going until I reached the bottom of the wood. I accidentally placed the peg in the wrong part of the circle jig and made a cut outside of the intended line.

i.) Using a caliper, I measured the distance between the outside and inside of the bit to the line I was supposed to cut. Using those measurements I drew the lines for where to cut the straight line.


j.) I clamped a ruler down, changed the circle jig to the straight edge one, and began cutting along the intended line.


k.) Many times I went over the intended line. It was hard for me to see and know when to stop because much of the bit is not visible when cutting. ***I wonder if there is a better strategy to know when to stop cutting?

l.) I had 3 pieces, so I kept practicing on those sheets.

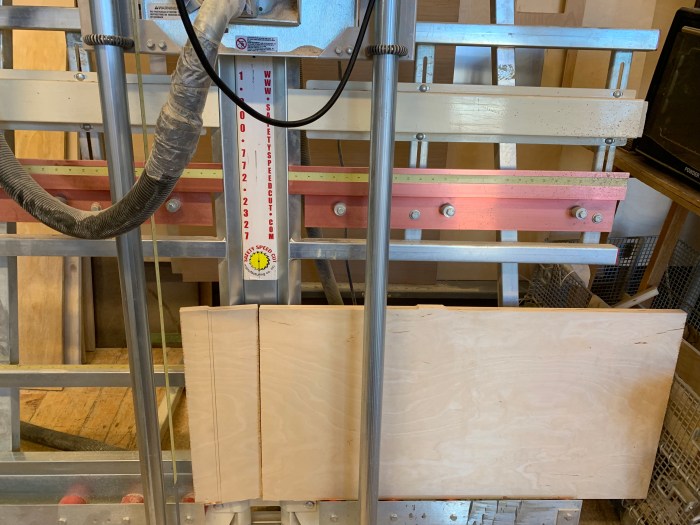
m.) I was also intending to use the positive shape of the piece to make a led enclosure. Below are some shots of the piece and a work in progress photo of the light enclosure.


