For this project to make our own switches, I initially thought about using the RGB LED (the one with 3 legs and one leg for ground). I remember seeing/ using this LED in the Arduino Uno kit, and I was tempted to use it again for this.


At first I wired it with a tilt switch, but the effect wasn’t that cool or dramatic. The LED would ever so slightly change from one color to a lighter version of that color when it was titled. Above is an image of the schematic and the LED.
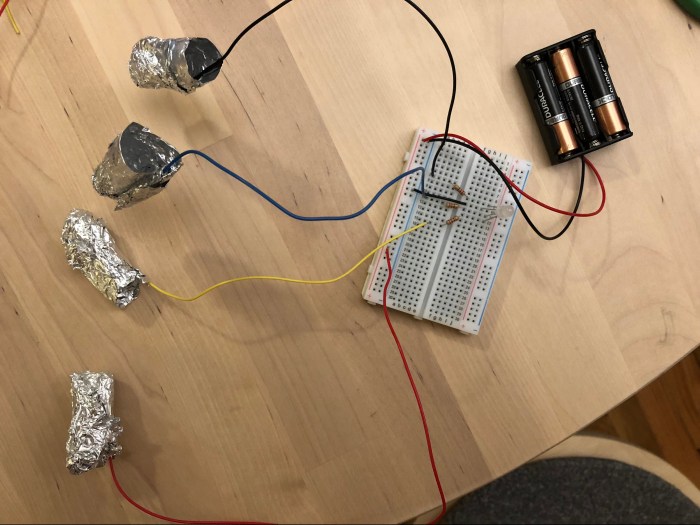
I wanted to make it more clear that there were 3 different colors that this LED could emit. Since I’ve been painting my nails more often lately, I thought about utilizing my fingernails to close the circuit. This way I could have each finger correlate with one color. And there would be a fourth wire (the red one in this case) that would be the positive terminal of the battery. When the foil finger of the red wire connects with one of the 3 fingers it closes the circuits and emits 1 specific color of the LED. So one leg is R, another G, and another B. When all the foil fingers touch, they combine to make white.


I first wrapped one of the wires connected in foil to try it out. When it worked I went on to wrap my other three fingers in foil. The image below shows the setup of the circuit with the foil fingers.
And this video below shows the full interactive function of the switch!
What a fun project to work on! I’m glad I decided to do something other than the tilt sensor. This is much more exciting and I can’t believe I’m using my fingers to mix colored lights! Crazy!
