For this week’s assignment to use 2 different materials, I decided to use vinyl and cork. I wanted to use this as an excuse to use ITP’s vinyl cutter. When working at a prior job we would always send out our files to have the vinyl cut, so I was determined to learn how this vinyl cutting tool works!
I got the cork from Staples, and decided to make vinyl patterns for the cork coasters.
Below is the process.
- I drew simple patterns that I wanted to have vinyl cut on illustrator.

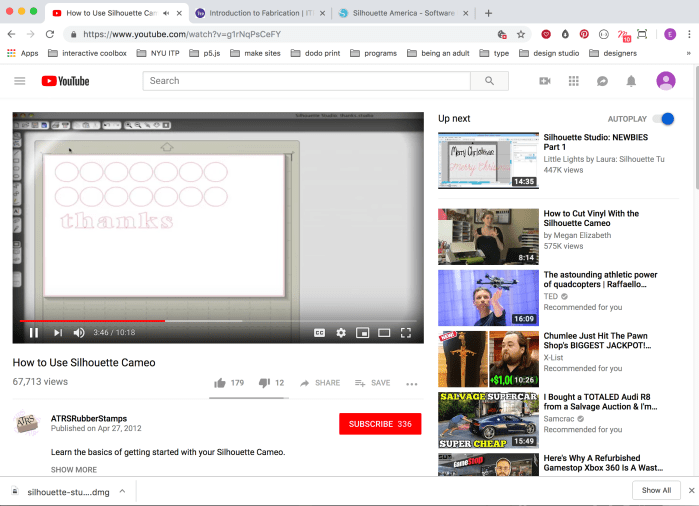
2. Then I watched a bunch of tutorials on how to use the “Silhouette Cameo” vinyl cutter. and downloaded their software onto my laptop. This was incredibly helpful step as I knew so little about this machine. I followed the steps of the tutorial. I imported my png drawing file into the library, traced the image, loaded the vinyl material, did a test cut.


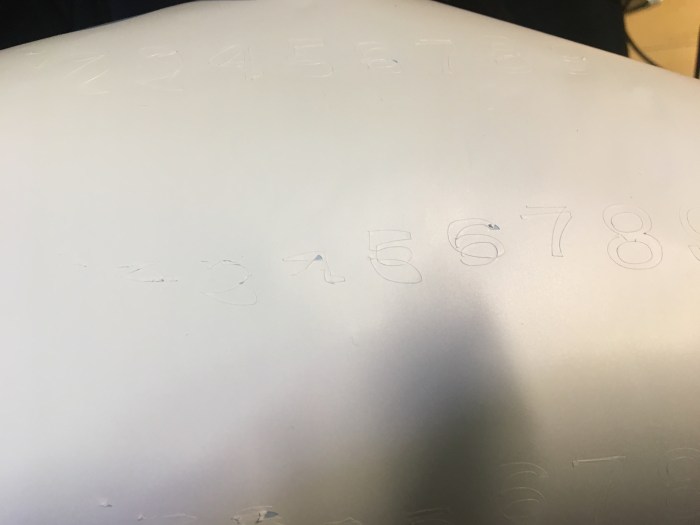
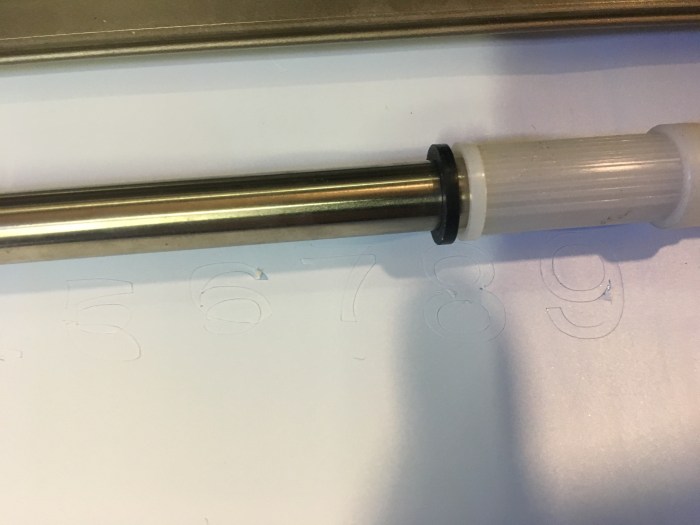
3. All of this required a lot of troubleshooting and testing to try to get the best results. Loading the material was a trial and error situation of trying to adjust the knobs, the blade setting to optimize the cut. The first video below shows the vinyl paper moving around all over the place, obviously this is my first time.
4. I tried a bunch of cuts and it was still wonky. However, after a couple of different tries and messing around with different settings I eventually got closer to the results I wanted.


5. I stuck it onto the cork. Below is a photo of the end result. I didn’t give the project my best try and am not super pleased with my idea or how this turned out. However, I am happy I tried out the vinyl cutter!
