See final with all the interaction and light fixture in the light blog.
For my second attempt at joinery, I needed to redesign the dimensions so that the joints fit well. This took 3 separate attempts to get right!
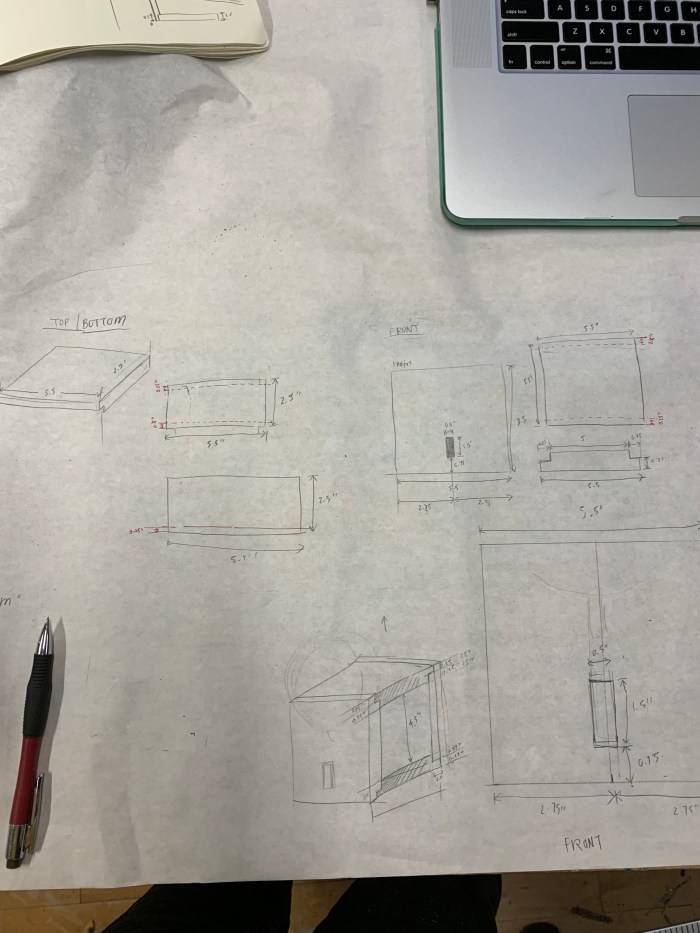

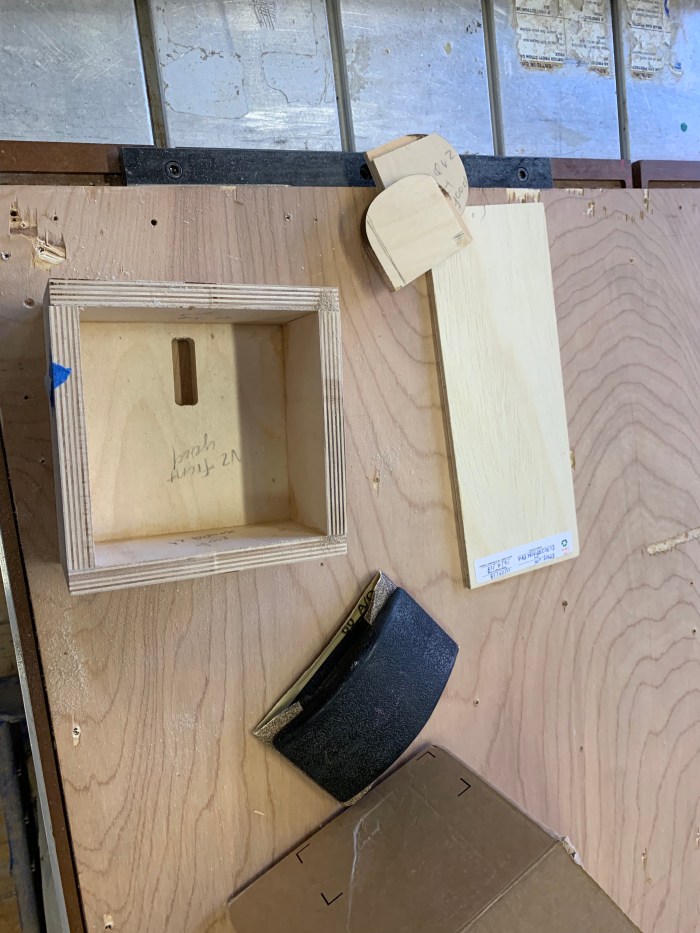
1.) First attempt using new dimensions of just a rabbet joint.


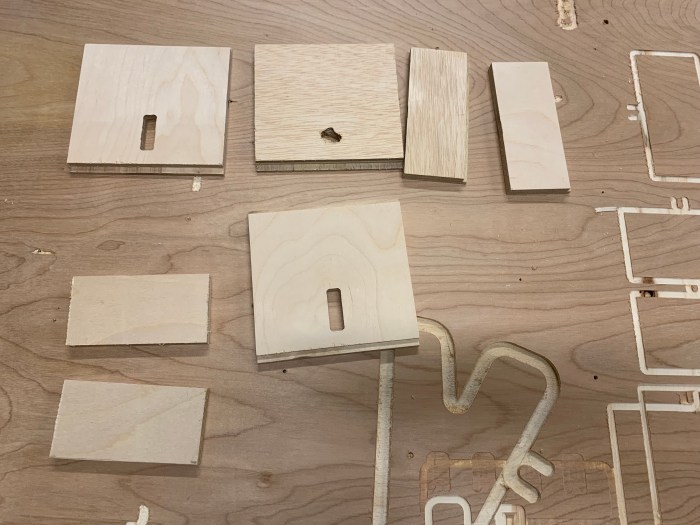
b.) The CNC worked well enough but the rabbet joints were off. The pocket size was not enough for the front panel, so the pieces didn’t fit well. Below are all the parts of version 1 of the sconce enclosure.

c.) An issue midway through cutting was that the bit would fall off. I think this must have something to do with the depth at which it was cutting. Another reason is that the colette is potentially getting loose.

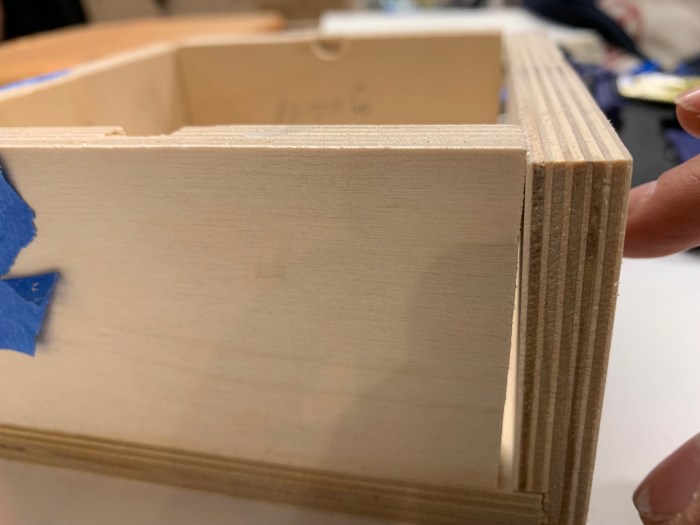
d.) Round 2 begins! Each round I changed the pocket depth cut slightly to see what would work best for the rabbet joint.


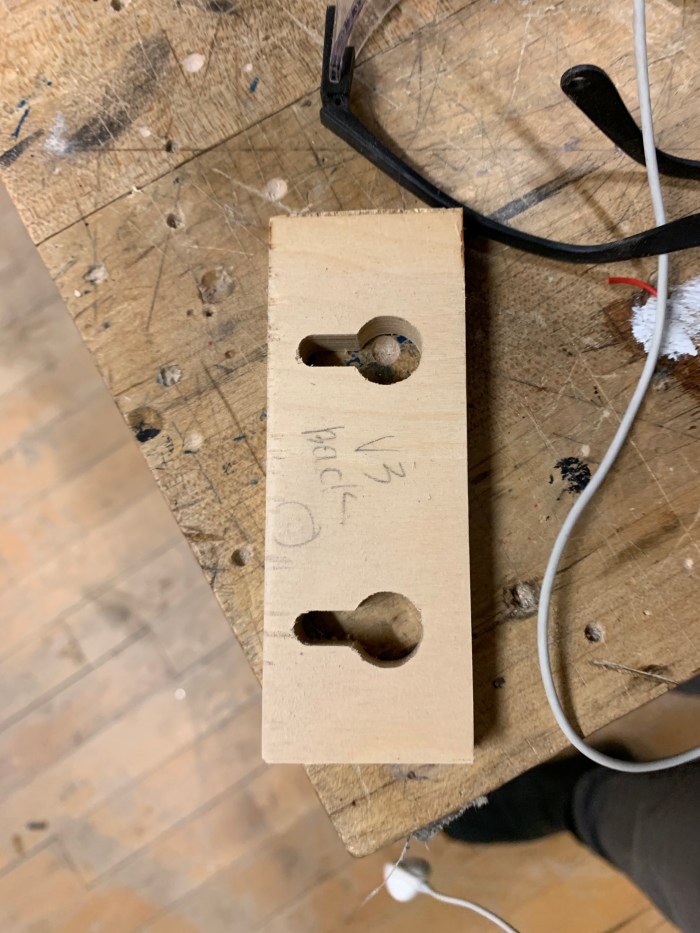
e.) A version 3 set was made. I think between all the sets version 2 and 3 were okay. None were perfect, but after 3 versions I needed to choose.

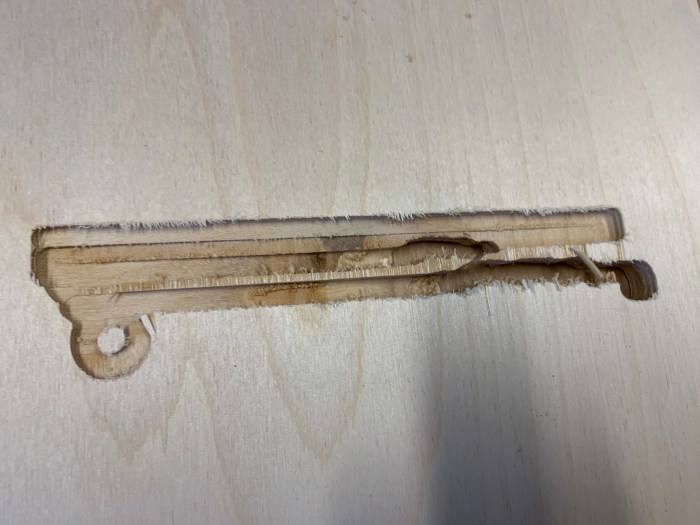
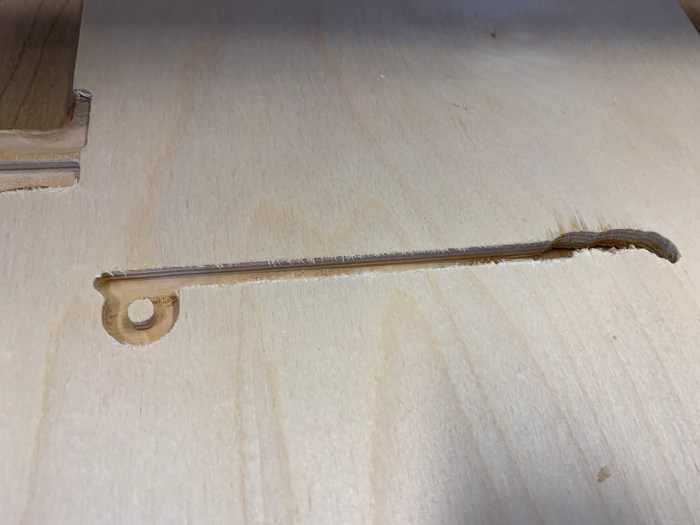
f.) The handle for the key was made by hand because the parts were too small for the CNC. When using the CNC for something this small, the vacuum would accidentally suck up the piece.

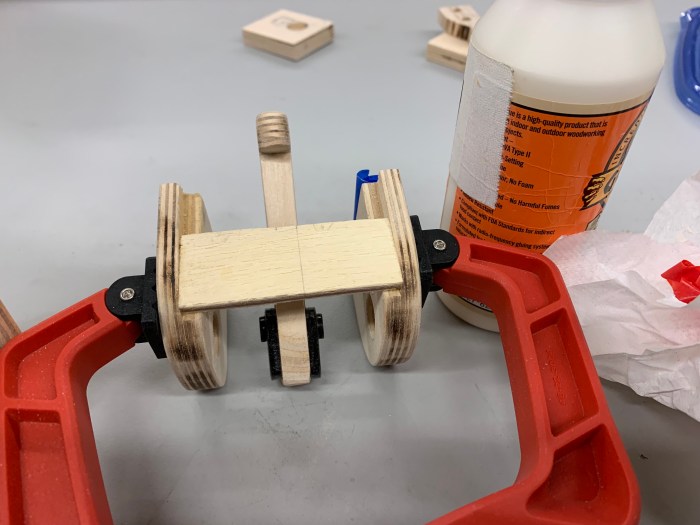
g.) Parts were glued together. Clamps were used.

h.) Sconce enclosure is glued and sanded! Yay!

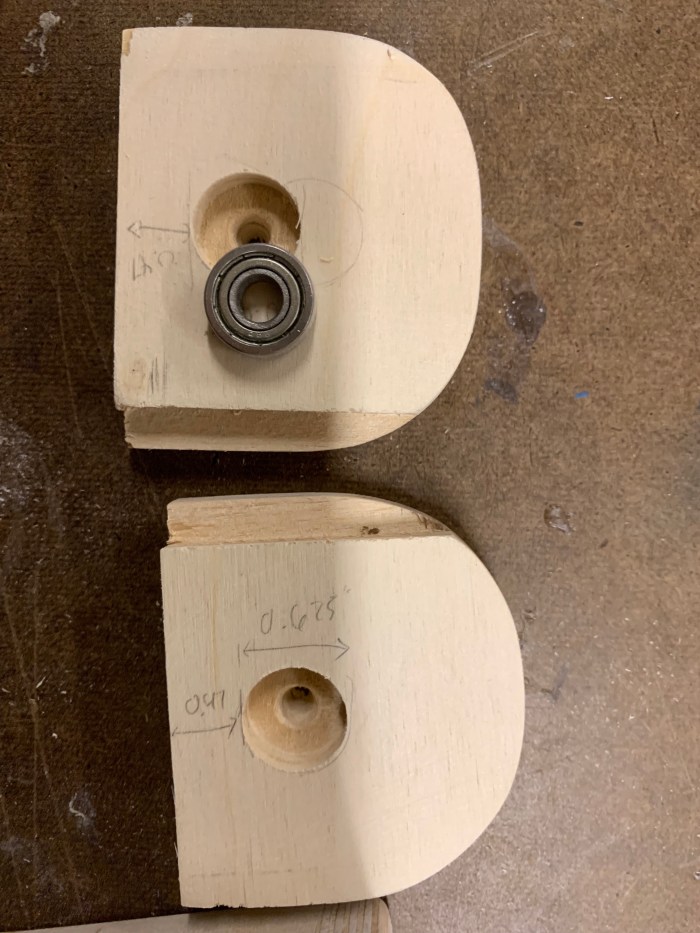
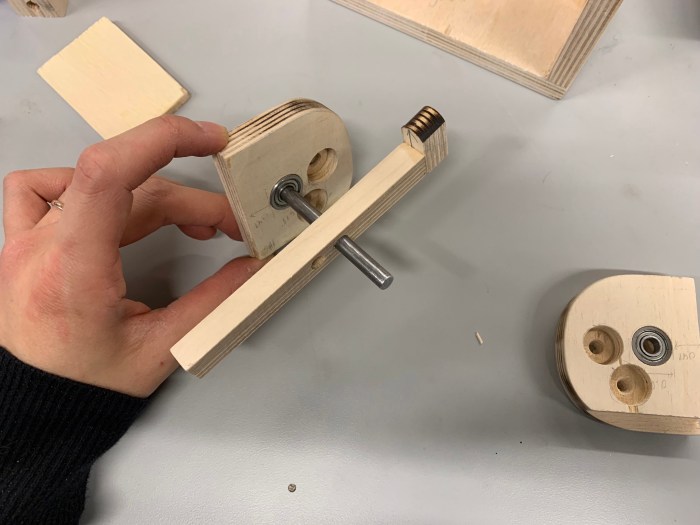
i.) Next, I worked on the key handle mechanism and it’s enclosure. These parts were all hand cut with the band saw and sand blaster.

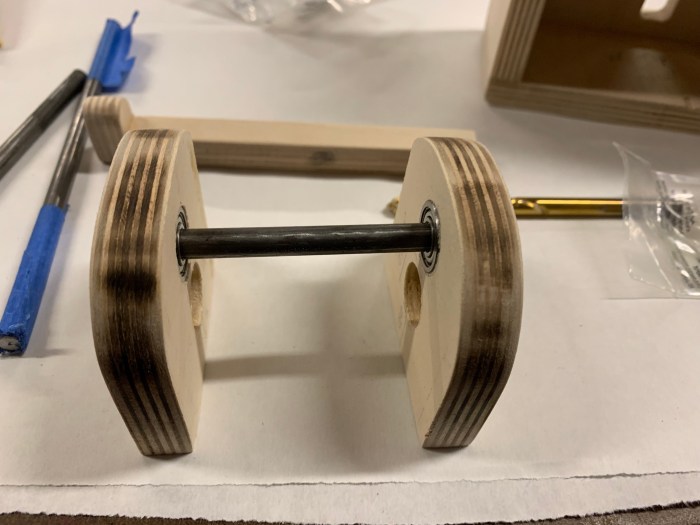
j.) I used the drill bit to make a pocket for these tiny 3/8″ ball bearings for the rod to go in. The ball bearing is helpful for smoothly rotating the rod that the key handle sits on.


k.) My sconce also includes a photo resistor so that when all the lights in the apartment are turned off the light would also turn off. This small hole was made with a drill press then expanded slightly with a chisel.


l.) I waxed the enclosure.
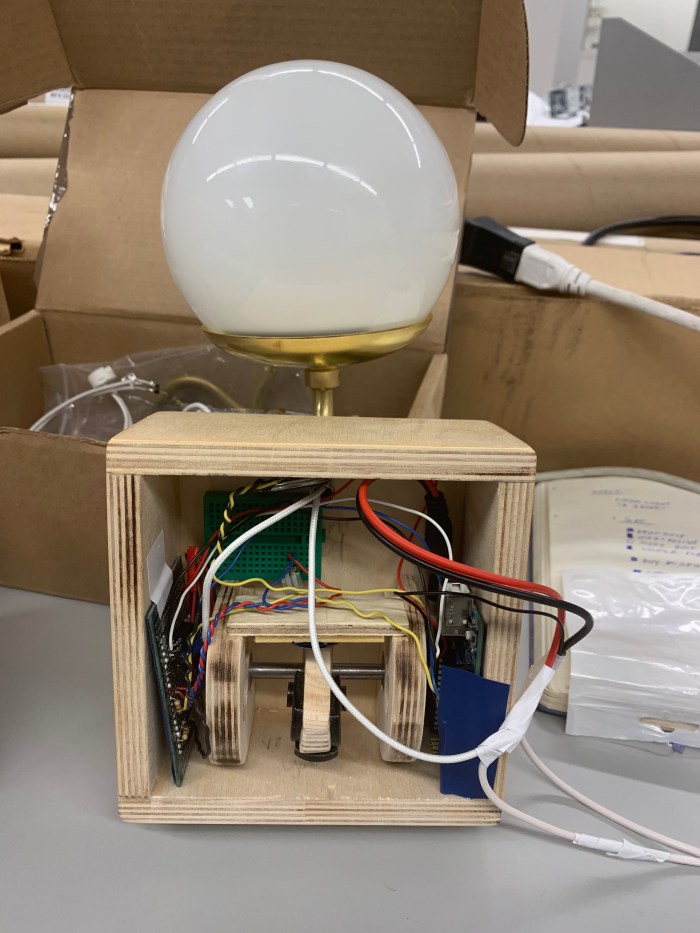
m.) I put all the light and electrical components into the enclosure.
n.) Last touch, I glued the screw piece to the back of the enclosure for easy mounting.
—
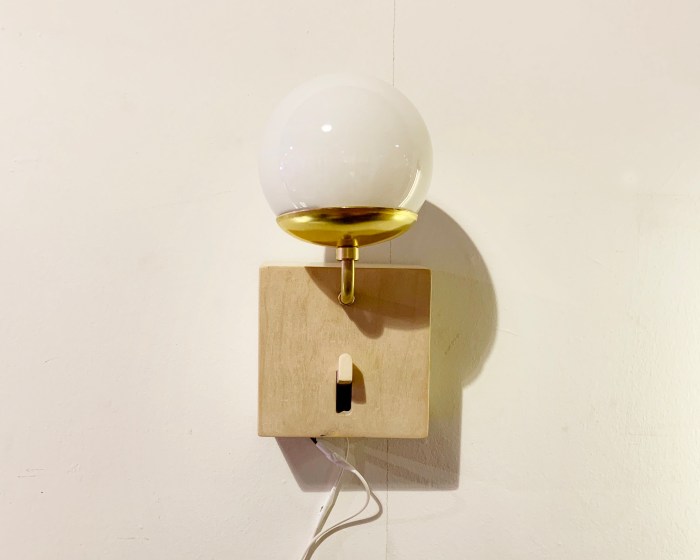
Final:
—
